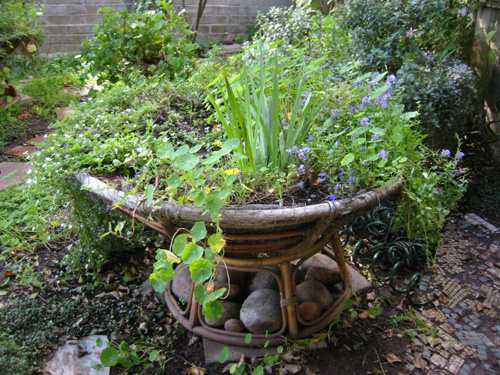
The top photo shows the first planter I made. If you look closely you
can see that I used chicken wire in addition to the screen mesh. I originally
thought I would use only chicken wire lined with sphagnum moss, but moss
is expensive, chicken wire is more trouble to work with, and nylon mesh
is cheap and easy to install. I placed the stones inside the planter base
just for looks.
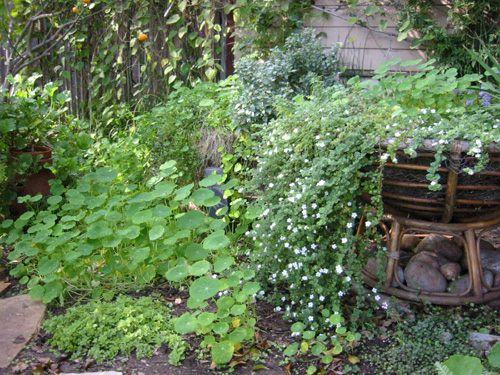
The second photo gives a side view of the same planter. The Sutera Cordata is doing well, isn't it? There is actually another planter in the picture but the plants almost completely obscure the planter. This is a nice effect, but it's also nice to have some of the planter visible. One benefit of having the plants hang over the planter completely is that it reduces the evaporation from the planter soil. Indeed, because the soil in the planter is more exposed to air it's prone to drying out.
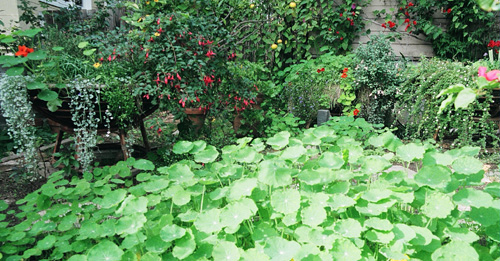
In the third photo there are three planters mostly obscured by the luxuriant growth of Dichondra argentea, Nasturtium, Fuschia, and Lobelia. You can see that we have created another level in the garden, full of chromatic and textural variety. On a flat site this method makes for a simple and elegant way to articulate the space. Harmony can be struck between the planters and the ground plantations.
Consider also that the planters are easily moved to other spots in the garden. Two people can easily carry a planter. Just don't try to move the planter when the soil is saturated with water.
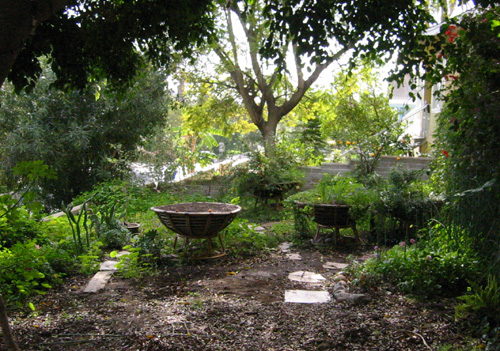
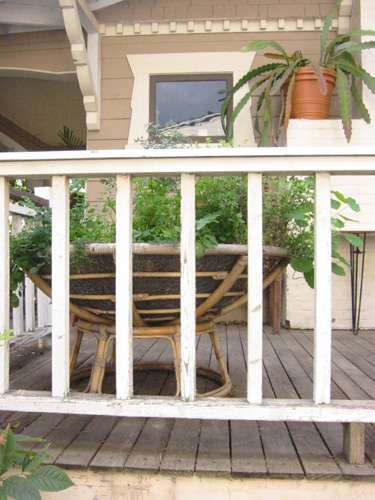
In the final picture you see a planter that we lifted up on to the porch near the kitchen. Yes, indeed, it made a great herb garden! We grew marjoram, thyme, basil, mint, sage, sorel, and nasturtium.